Contents
– Focus on color therapy
– Step 1: Color Therapy Materials
– Step 2: Diagnosis
– Step 3: Treatment Principles
– Step 4: Treatment
– Step 5: After treatment
– Step 6: Expected Results
Color therapy is a natural therapeutic method that is both relatively simple to implement and very effective.
Moreover, it can be practiced by anyone at a meager cost and without contraindication. Let’s see how to use color therapy.
Zoom on color therapy
– Color therapy is a method inspired by Chinese energy.
– It can be presented in two different ways:
◦ light color therapy, which uses colored light ;
◦ molecular color therapy, which consists of an application of an ointment containing an adapted trace element.
We will only mention here the first method, which alone can be used by anyone.
– It makes it possible to treat:
◦ traumas;
◦ problems of an articular nature;
◦ skin pathologies;
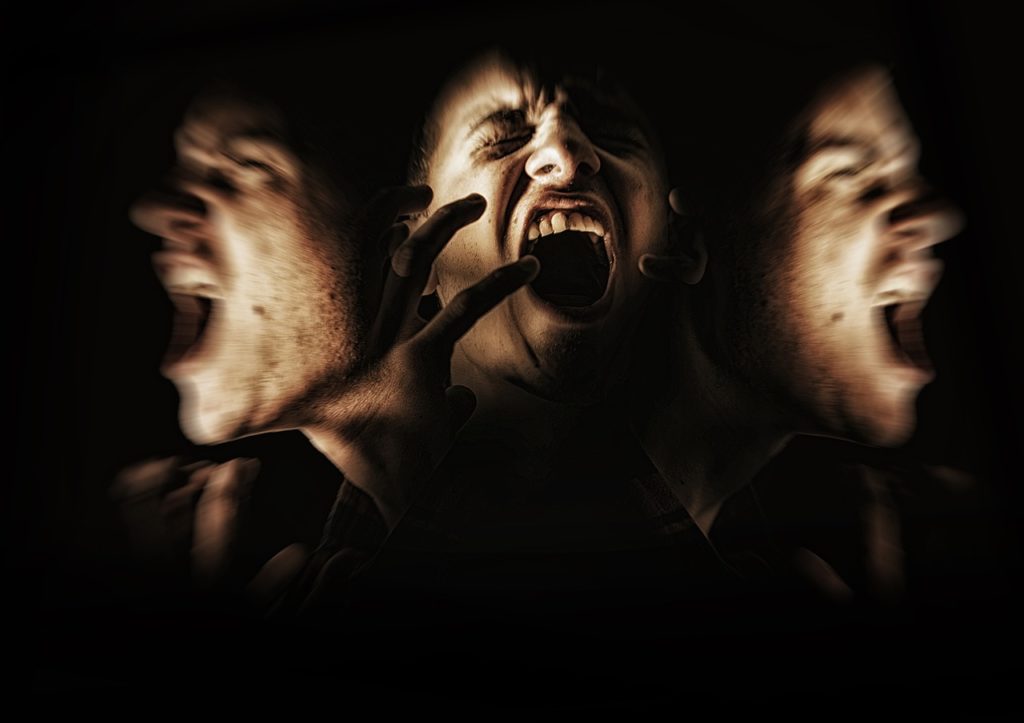
◦ psychological disorders (depression, stress, sleep disorders, etc.).
– It consists in going in the direction of the pathology according to four essential criteria:
◦ the hot;
◦ the cold;
◦ the dry;
◦ the wet.
Note: the items in this practice sheet are for informational purposes. Color therapy proves to be quite effective when professional equipment is used: a torch equipped with an infrared filter and especially color filters specifically studied to give light with a precise wavelength. In addition, an actual color therapist will apply this light on specific acupuncture points to obtain an optimal result. This is the technique developed by the German Peter Mandel.
1. Color therapy equipment
The material needed to use the healing energy of colored light is a torch and color filters:
– red;
– orange;
– green;
– blue.
These filters can be colored transparent films such as those used as dividers for filing cabinets. These transparencies will not have the same effectiveness as the filters used by professionals whose wavelength is specifically studied but may be sufficient for certain benign conditions.
The results will partly depend on the “quality” of the color obtained (more or less close to the ideal wavelength).
2. Diagnosis
As in any therapy, diagnosis is essential. This is even truer in color therapy, where the diagnosis guides the entire treatment.
It is necessary to determine if the pathology to be treated is :
– hot;
– cold;
– wet;
– dry.
For this, no tremendous medical knowledge is needed. It is somewhat necessary to use common sense.
All inflammations (diseases in -ite: tendonitis, otitis…) will be hot pathologies—the same thing for the hyperactive, insomniac, or hysterical pathologies, for example.
Trauma, shocks, blows are cold pathologies (which stun the tissues, as if frozen). The same goes for psychological pathologies such as depression or excessive fatigue (one remains frozen).
The pathologies in which a flow takes place are wet: hemorrhage (nose bleeding, for example), oozing, etc.
The pathologies considered dry are those characterized by a marked dryness: urticaria, eczema (depending on the phase), wart, etc.
Some diseases can combine two parameters. Edema, for example, will combine hot and humid.
3. Principles of treatment
After establishing the diagnosis, consider the following relationships:
– hot = orange;
– cold = red (as paradoxical as this may seem to you);
– wet = green;
– dry = blue.
It is essential to know that we try to go in the direction of the pathology in color therapy. Thus, in the case of a burn, we try to increase the presence of heat on the affected area.
In concrete terms, no additional heat will be applied to the skin, but the body interprets the orange light as being hot. In response to this excess heat, the body will produce cold and self-correct.
4. Treatment
Once the diagnosis has been made, the treatment is straightforward:
– Place yourself out of the light in a dark or dark room (to avoid light interference).
– Apply on the area to be treated the color adapted to the problem by lighting the torch and placing it in front of the chosen color filter.
– Stand about 30 cm away from the treated area and hold the light for 4 minutes. For example, in case of depression or hyperactivity, the light should be directed towards the person’s open eyes (there is no need to stare at the light).
Complete the application of this color with 50 seconds of the complementary color:
– If you applied orange, put 50 seconds of blue.
– If you applied red, apply 50 seconds of green.
– After 4 minutes of green, apply 50 seconds of red.
– If you have applied blue, apply 50 seconds of orange.
5. After the treatment
After the light application, stay in the dark for 20 minutes or cover the area with a black cloth for 20 minutes.
6. Expected results
The closer the wavelength of the light applied is to the ideal wavelength, the more effective and rapid the results will be.
It is thus possible, for example, to treat hematomas in one day, to make a burning sensation disappear immediately after being burned, and to promote healing (two to three times less time than in normal circumstances).
Note: This method is used for simple problems. It is possible to obtain results on internal pathologies, but the process will be more complex and less obvious to diagnose. In case of cystitis, for example, it will be necessary to irradiate water with blue for 7 hours and then drink it throughout the day (to be repeated 2 or 3 days in a row).
Equipment to use the color therapy
| Flashlight | Starting at $10 |
| Color therapy materials | Starting at $350 |
| Color transparencies | $5 approx. |